 kotlin
About
Spring security is a versatile and popular authentication solution for the JVM ecosystem. It is an officially supported component of spring ecosystem and widely deployed in many production solutions.
KOMapper is a new ORM for Kotlin that embraces KSP.
Because spring-security is, at its core, agnostic of any specific persistence solution (even spring-data is not mandatory), we can easily configure it to use komapper for authenticating users.
Bootstrapping the application
We can download a scaffolded project from the https://start.spring.io after selecting spring-boot-starter-jdbc, spring-boot-starter-web and spring-boot-starter-security.
While in this post we use JDBC and spring-web, both komapper and spring-security also work with r2dbc & spring webflux.
Our final build.gradle.kts file will look something like this:
import org.jetbrains.kotlin.gradle.tasks.KotlinCompile
plugins {
id("org.springframework.boot") version "2.6.4"
id("io.spring.dependency-management") version "1.0.11.RELEASE"
kotlin("jvm") version "1.6.10"
kotlin("plugin.spring") version "1.6.10"
id("com.google.devtools.ksp") version "1.6.10-1.0.4"
}
kotlin {
sourceSets.main {
// This directory contains the source files generated by
// Komapper's KSP processor
kotlin.srcDir("build/generated/ksp/main/kotlin")
}
}
7 lines collapsed
dependencies {
val komapperVersion = "0.30.0"
implementation("org.springframework.boot:spring-boot-starter-actuator")
implementation("org.springframework.boot:spring-boot-starter-jdbc")
implementation("org.springframework.boot:spring-boot-starter-jersey")
implementation("org.springframework.boot:spring-boot-starter-web")
implementation("org.springframework.boot:spring-boot-starter-security")
implementation("org.komapper:komapper-spring-boot-starter-jdbc:$komapperVersion")
implementation("org.komapper:komapper-dialect-h2-jdbc:$komapperVersion")
// We need to explicitly enable komapper's KSP processor
ksp("org.komapper:komapper-processor:$komapperVersion")
implementation("com.fasterxml.jackson.module:jackson-module-kotlin")
implementation("org.jetbrains.kotlin:kotlin-reflect")
implementation("org.jetbrains.kotlin:kotlin-stdlib-jdk8")
implementation("org.liquibase:liquibase-core")
developmentOnly("org.springframework.boot:spring-boot-devtools")
implementation("com.h2database:h2")
testImplementation("org.springframework.boot:spring-boot-starter-test")
}
9 lines collapsed
Spring-security autoconfigures the application to use a form based login screen, that looks like this:
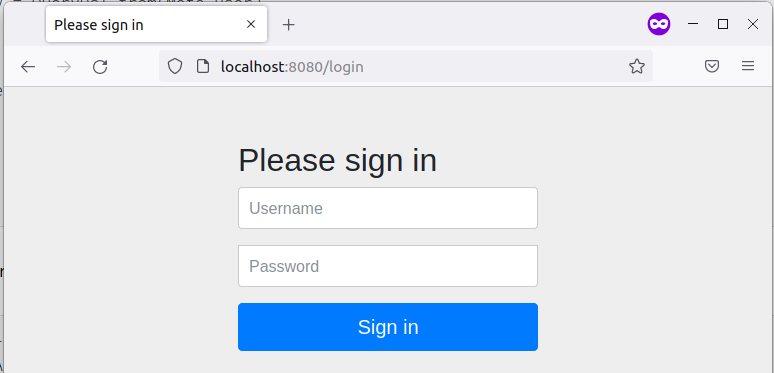
Before we can access any of the protected routes (all by default) we will need to authenticate.
To keep this post simple, we will use h2 database here - we can configure the location where our db will store data in application.properties.
spring.datasource.url=jdbc:h2:/tmp/db
spring.datasource.driverClassName=org.h2.Driver
spring.datasource.username=sa
spring.datasource.password=
spring.jpa.database-platform=org.hibernate.dialect.H2Dialect
Please ensure that any location chosen here is writable by the running user.
We will need a user table which will store our user details. In production we should use a migration system like dbmate or liquibase. To simplify things here, we can create this table through h2-console available in localhost:8080/h2-console
create table users (
    id identity not null primary key,
    name varchar(255) not null,
    email varchar(255) not null,
    password varchar(255)
)
We can map this table to a Kotlin data class through the komapper provided annotations:
package com.test.server.entity

import org.komapper.annotation.*
import java.time.LocalDateTime

@KomapperEntity
@KomapperTable("users")
data class User (
    @KomapperId
    @KomapperAutoIncrement
    var id: Int,

    var name: String,

    var email: String,

    var password: String,
)
In ideal setup, we will also keep track of whether the email has been validated, how many times auth attempts have been successful, whether password meets expected strength etc. But in this article we will focus on just validating the user provided password against the value stored in database.
spring-security will, by default, find and delegate to a UserDetailsService implementation in the application context. So we will need to provide an UserDetailsService implementation that uses komapper.
package com.test.server.service
9 lines collapsed
@Service
class UserDetailsServiceImpl(
// The komapper spring-boot starter is aware of spring managed
// datasources configured through application.properties
//
// so we will not need to define this bean separately
private val db: JdbcDatabase
): UserDetailsService {
override fun loadUserByUsername(username: String): UserDetails {
// Fetch a user from database using the username coming from the form
val userQuery = QueryDsl.from(Meta.user)
.where { user.name eq username }
.first() // Throws if user is not found
return UserDetailsImpl(db.runQuery(userQuery))
}
private val user = Meta.user
}
The Meta.user is an extension method generated by komapper's ksp processor that returns the meta-model instance for the User entity defined above. Mode details about komapper's meta-model approach is available here.
We will need a wrapper over our User class that complies with the UserDetails interface that spring-security expects:
class UserDetailsImpl(private val user: User): UserDetails {

    // We prefix the password stored in database with {bcrypt} to indicate
    // to spring-security that this password is bcrypt encrypted.
    //
    // This prefix will be used to identify the password encoder to be used
    override fun getPassword() = "{bcrypt}${user.password}"
    override fun getUsername() = user.name

    // In a more full-featured integration, we can use below
    // overrides to ensure that current user is not locked/expired/disabled etc.
    override fun isAccountNonExpired() = true
    override fun isAccountNonLocked() = true
    override fun isCredentialsNonExpired() = true
    override fun isEnabled() = true
    override fun getAuthorities() = null
}
Now, if we try to access localhost:8080 we will be prompted for username, password and our `UserDetailsServiceImpl will be automatically used to find the corresponding user before password is validated.
However, we don't have a built-in way to manage/insert users. To test out things we can insert a user directly in the db. One simple way to generate an encrypted password is to use the bcrypt-cli utility available through npm.
❯ npx bcrypt-cli "sillypassword" 10
Need to install the following packages:
  bcrypt-cli
Ok to proceed? (y) y
$2a$10$drlJ6SdzEBso.CLHkO9W0e/lMtySOyArGmixOiSvOESMYBHvEEBoO
We can insert this as user password into the h2 db:
insert into users (name, email, password)
values ('test', 'test@example.com', '$2a$10$drlJ6SdzEBso.CLHkO9W0e/lMtySOyArGmixOiSvOESMYBHvEEBoO')
Now, we should be able to login through test/sillypassword as credentials.